Saturday, April 28, 2012

Gray and Yellow Nightstands


Found these pair of nightstands at a garage sale and just had to snatch them. 

BEFORE

After sanding, painting, polying, and distressing, I came up with these.  I love how they turned out!

 AFTER

I link to:

Tuesday, April 24, 2012

Desk Makeover


BEFORE


AFTER


I Link to:
Classy Clutter, Tatertots and Jello, Embracing Change, Miss Mustard Seed, Domestically Speaking

Funky Earring Holder

This started as an ornate, gold frame with lots of rust.  I painted it using Valspar Gold Abundance spray paint. 

 I then cut chicken wire and hot glued it behind the frame. I wouldn't normally recommend using hot glue, but it was a plastic frame so I wasn't able to use a staple gun.  To secure the chicken wire a little better, I glued red and white polka dot fabric behind.  It makes a perfect display for earings or other jewelry!


I Link to

How to paint a dresser without sanding


I found this dresser on Craigslist for $40, which is higher than I like to pay but it's a little hard to find dressers so I take what I can get. 

BEFORE

For this piece I didn't do any sanding.  I took out all of the drawers and  primed the entire thing with white valspar spray paint primer. 

The primer doesn't take long to dry.  I then painted the top yellow and applied gray paint for the frame.  I painted the drawers yellow as well  (I gave everything 2 coats).  After letting everything dry (It's best if you wait 24 hrs), I used miniwax black stain and painted it onto the dresser.  You have to make sure to paint in sections or else the stain will soak in and get too dark.  After applying the stain, I wiped it off with a wet rag until it was the desired color.  You can wipe off as little or as much stain as you would like...just depends on your preference.  After everything dried (again 24hrs is best), I applied 2 coats of Polycrylic.  On lighter furniture like this, you want to make sure to use water based Polycrylic instead of Polyurethane because Polycrylic won't yellow over time. 


I really love these colors together! 

AFTER

Monday, April 23, 2012

Shabby Window Mirror

I found this beauty at a yard sale for $5 and saw some potential. 

BEFORE

I primed it white, applied 2 coats of white paint, and did some sanding to give it a distressed look.  Quite a difference, don't you think?


AFTER
http://www.garbagetoglam.blogspot.com/2012/04/i-found-this-beauty-at-yard-sale-for-5.html

Sunday, April 8, 2012

Some recent projects

This was one of my first projects and the start of my obsession with the color turquoise. I really like how this one turned out.


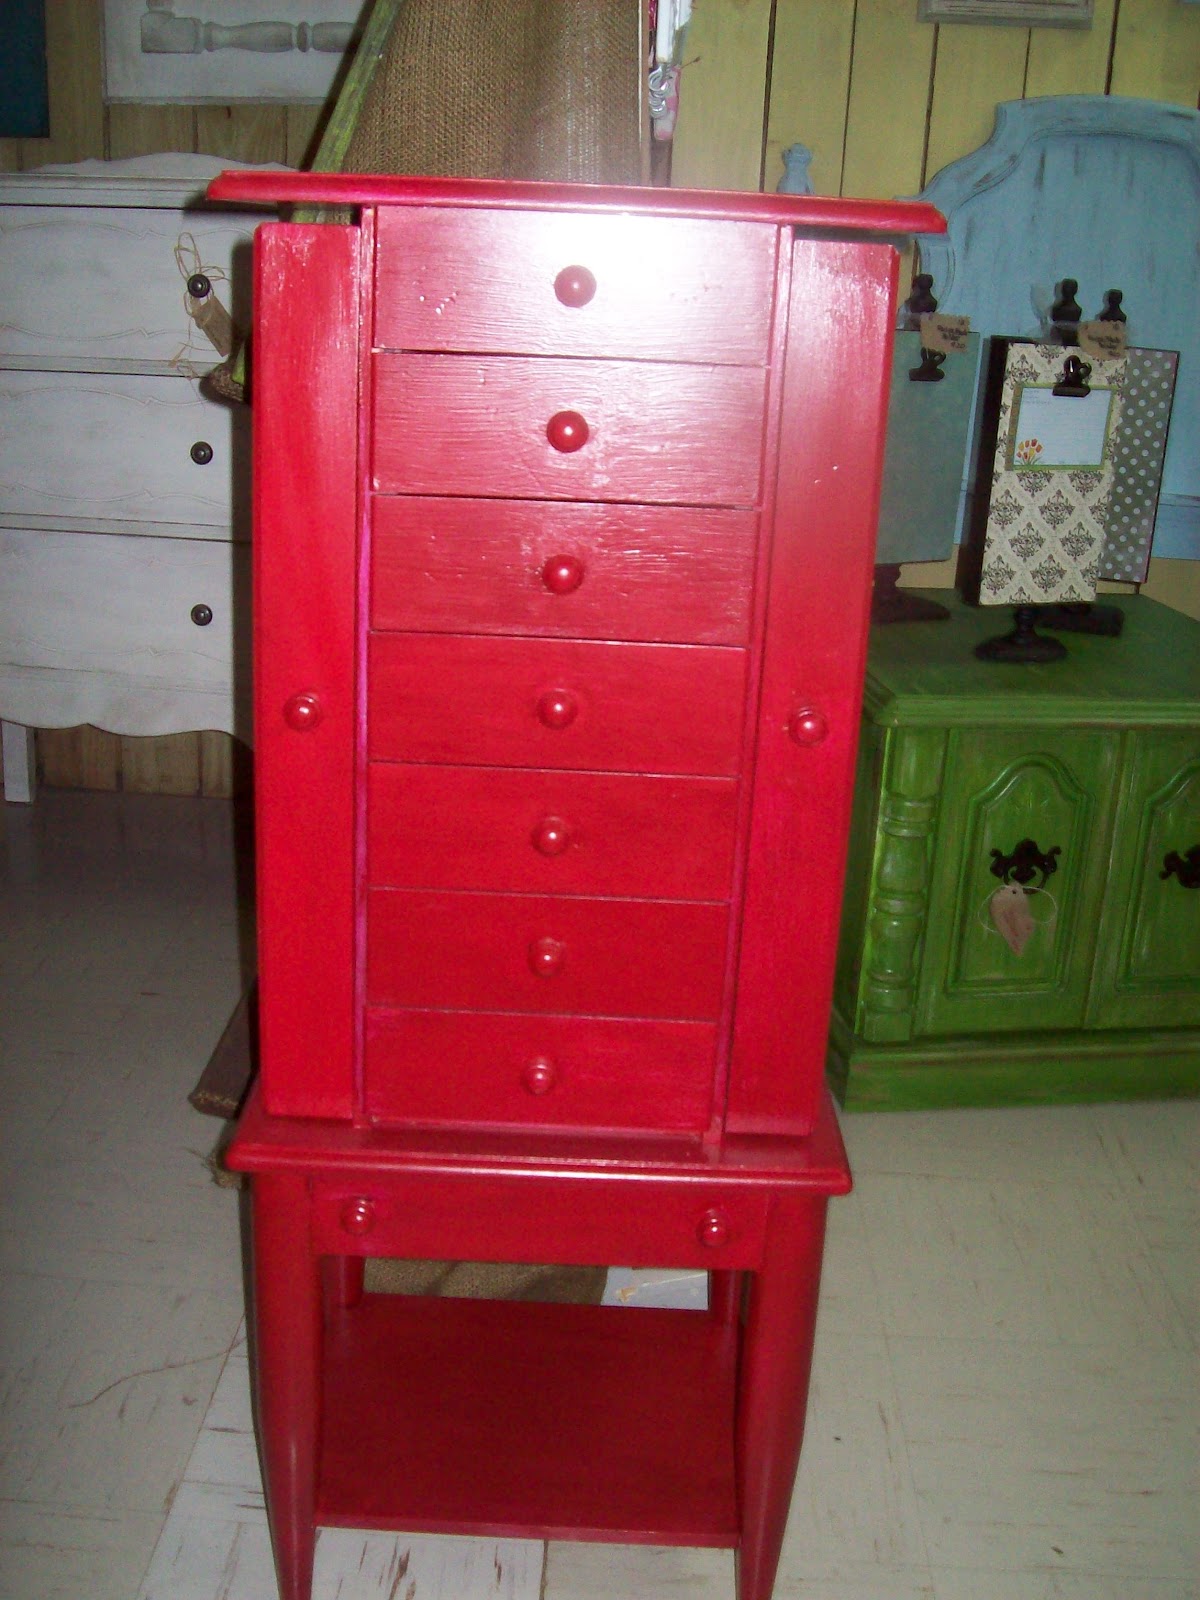
This jewelry cabinet was light brown oak before and after some sanding, painting, glazing, and polying, this is how it turned out!


Love this pink for a little girl's room!


I spray painted this magazine rack red.  After letting it dry I painted a coat of turquoise on top.  I gave it a light sanding to let the red show through underneath.

This was a 16x24 piece of wood.  I measured, taped off the center, and painted it with chalkboard paint (I did a few coats).  After letting the inside dry I painted the outside turquoise and later added the white polka dots with a stencil. 


White and turquoise coffee table!


These started out in pretty bad condition.  I added some padding and fabric to the top to give them some more color.  I really like the red and turquoise combination.


Letter and key holder!  Found this for only $1 at a garage sale.


Found this for about $5 at a garage sale.  This one took a little more effort because I had to paint  every side.  After finishing, I think it was well worth the effort!


This is made with a 16x24 piece of plywood. I painted it black, let it dry and then stenciled white letters on top. After everything was dry I sanded it over quickly with an electric sander to make it a little more shabby. A little time consuming, but cheap and easy!
Related Posts Plugin for WordPress, Blogger...